
Before you even pick up a camera, the most important thing to understand is light. It’s the cornerstone of every great image, and learning how to see and work with light will make a bigger difference to your photography than any fancy piece of kit ever could. In this blog, I’ll guide you through the basics of understanding light and why it matters so much.
Lighting Direction
The direction of light can completely transform a photograph. Think about where the available light is coming from and how it interacts with your subject.
Side light:
Light coming from one side creates strong shadows and highlights. This adds drama and texture, perfect for portraits, still life, or architectural shots. Side lighting emphasises depth and three-dimensionality, making your subject pop from the background. For best results, experiment with the angle and intensity of the light to find the right balance between highlights and shadows. For instance, in portrait photography, side lighting can sculpt facial features beautifully, but it’s important to avoid shadows that are too harsh on one side of the face.

Back light:
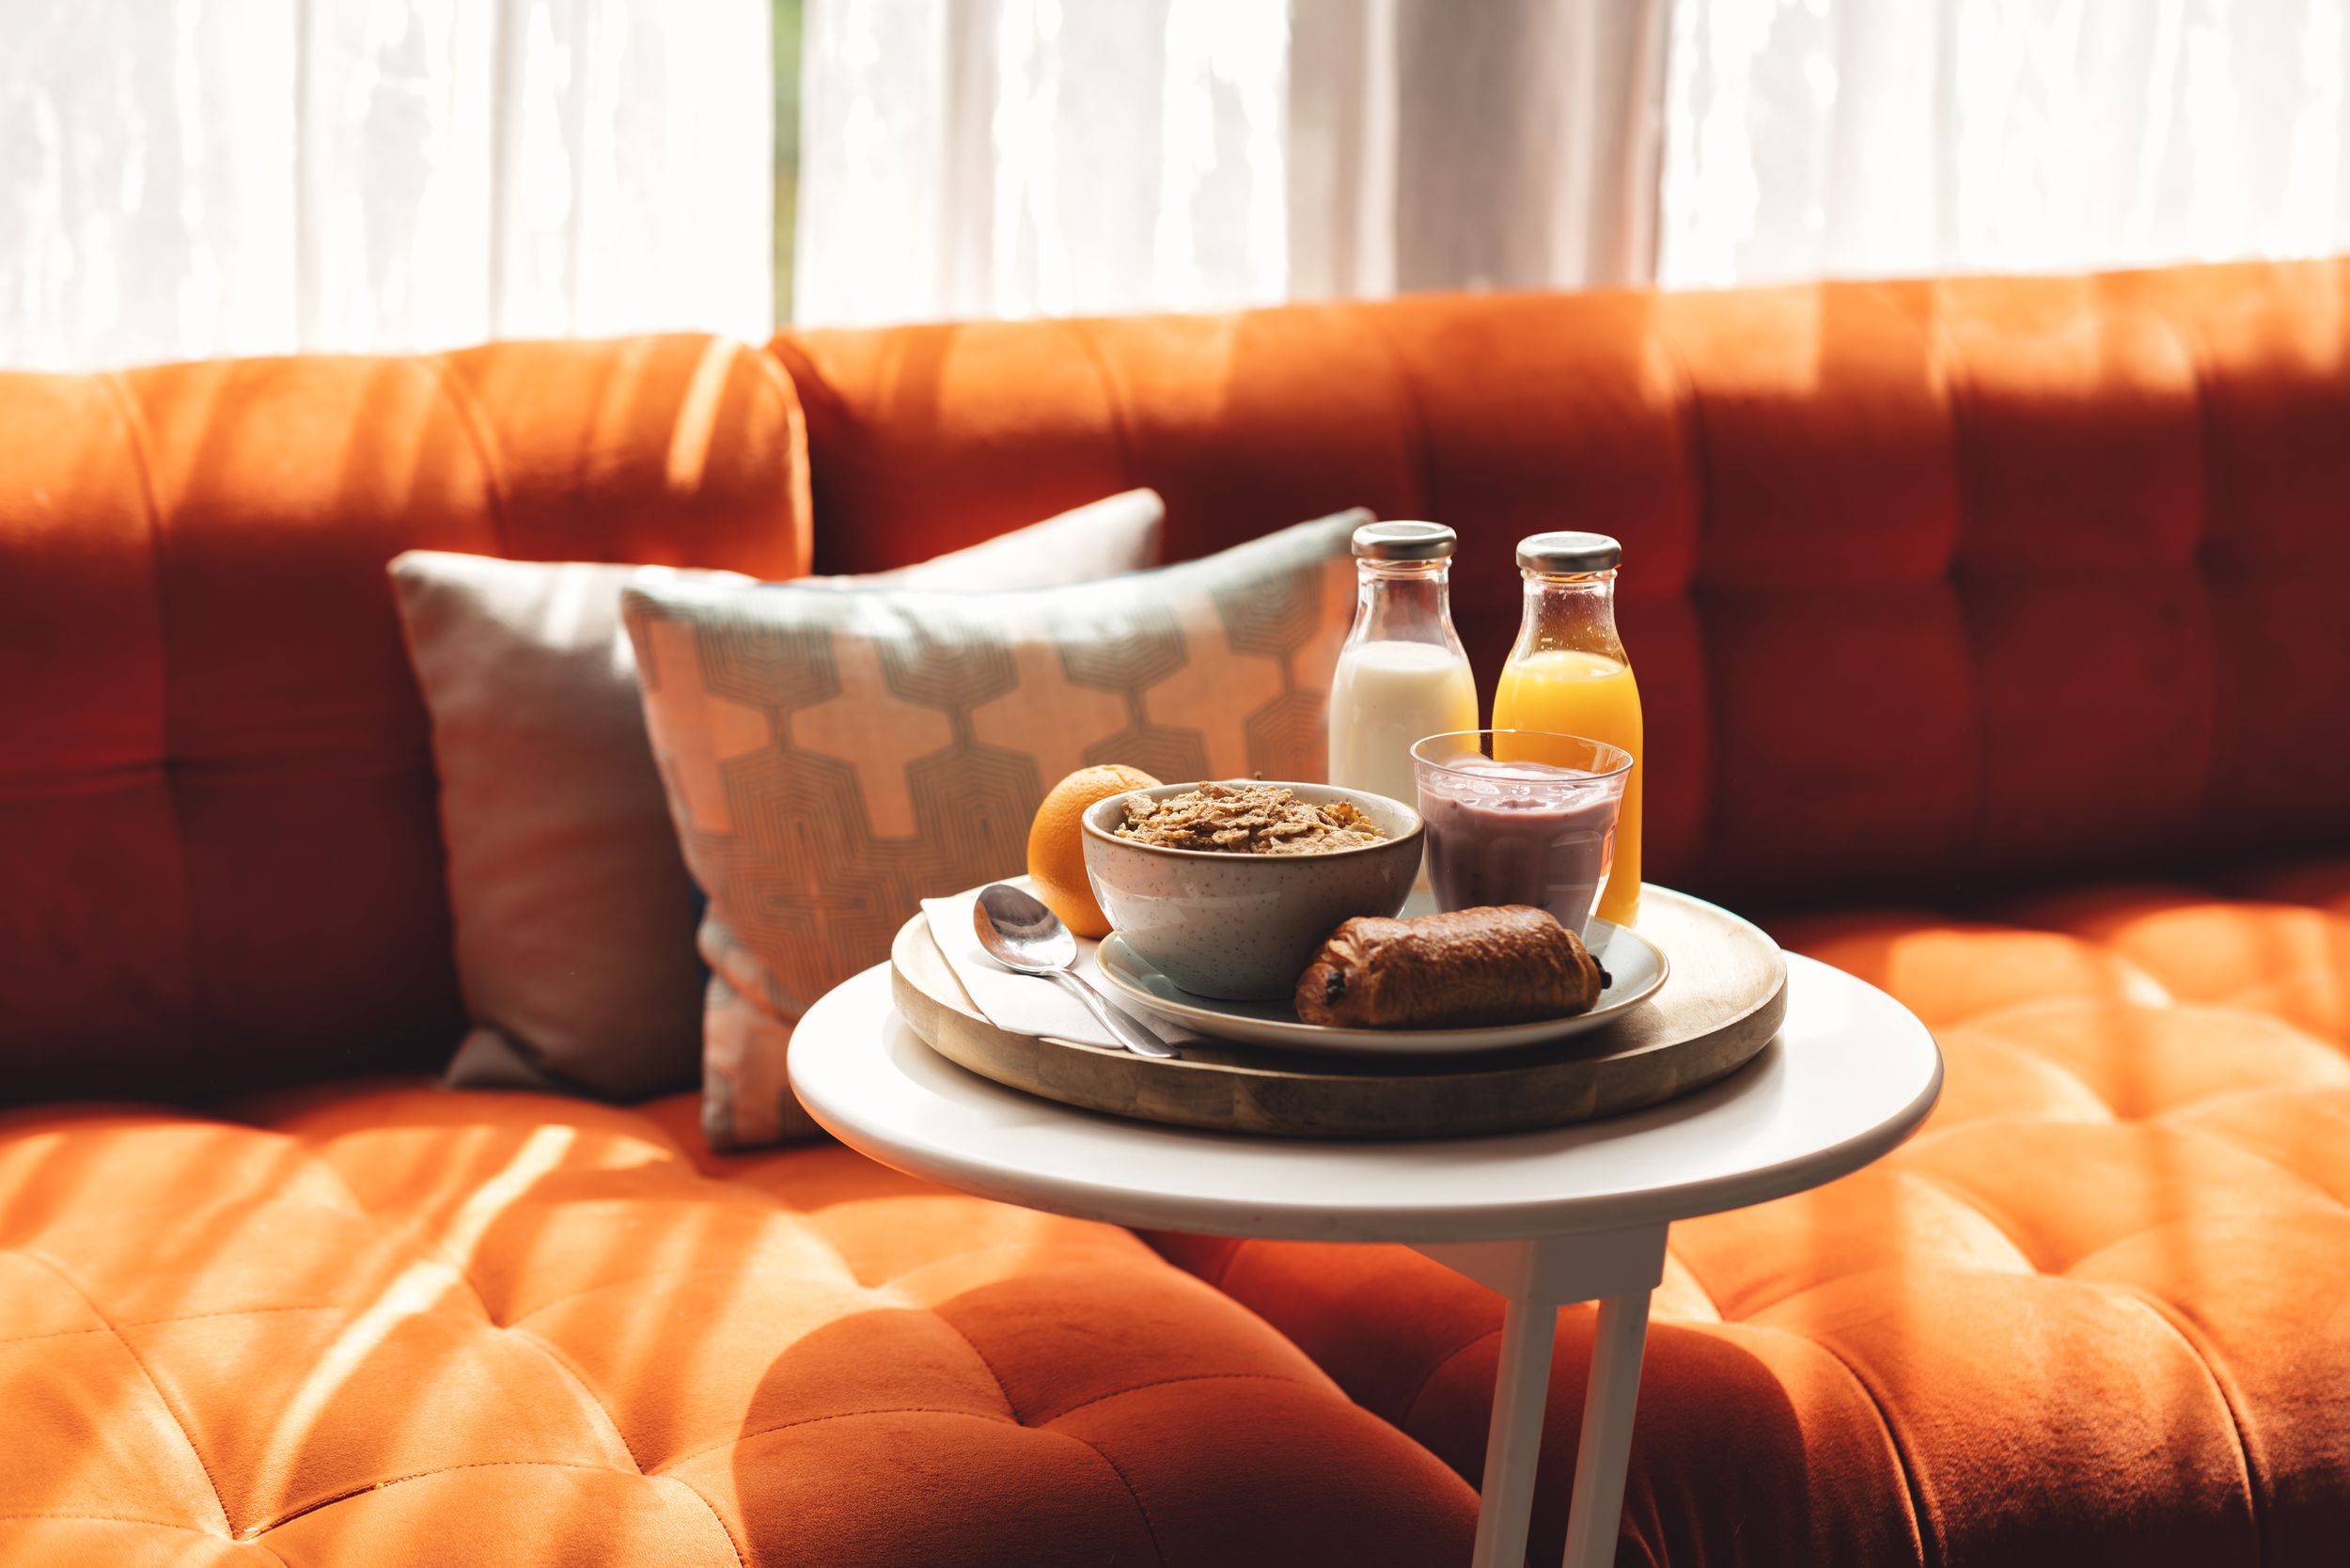
When the light source is behind your subject, you can create striking silhouettes or glowing edges on products. This technique adds a sense of depth and mystery to your photos. To balance backlighting, try placing a piece of white card or reflective material in front of the subject to bounce some light back into the frame (as in the image). Backlighting is particularly effective outdoors, where it can create a dreamy effect by highlighting edges like hair or foliage.

Front light (RARELY ADVISED):
This technically lights up your subject evenly, reducing shadows. It’s great for capturing details, which is why it's used by people like crime scene investigators, but can sometimes make an image feel flat or lack depth. Front lighting is often associated with using a phone’s flash, which can produce harsh and unflattering results. It tends to eliminate texture, giving skin a washed-out look and causing sharp shadows in the background. A simple way to avoid this is to angle your subject or diffuse the light for a more natural effect. I rarely ever have used front lighting for any image.

HARD VS. SOFT LIGHT
The quality of light is just as important as its direction. You’ll often hear photographers talk about “hard” and “soft” light, and the difference mostly comes down to the resulting shadows.
Hard light:
This creates sharp, defined shadows and is great for emphasising texture and shape. You might see this on a bright sunny day or from a single unfiltered bulb. Hard light can add drama to your image but can also be harsh, especially for portraits. To use hard light effectively, try angling the light so that it highlights interesting textures or patterns, such as the grain of wood or the folds of fabric. Hard shadows can also be used to fill an empty area of the frame.

Soft light:
This produces gentle, diffused shadows and is much more flattering for most subjects. Overcast skies, large windows, or diffused light sources create this effect. Soft light reduces harsh contrasts, making it ideal for portraits and scenes requiring a natural, smooth look. You can soften light further by placing a white curtain in front of a window or bouncing light off a pale surface like a wall. Most photographers will use lighting with soft boxes attached, to create this softer look.

Natural vs. Artificial Light
As a beginner, you might rely heavily on natural light, and there’s nothing wrong with that. It’s free, abundant, and can produce stunning results. But understanding artificial light will give you even more control over your images.
Natural light:
This changes throughout the day. Morning and evening light (the golden hours) is softer and warmer, creating a romantic and gentle mood. Midday light, by contrast, is harsher and cooler, often casting strong shadows (and can be really hard to work with). To make the most of natural light, position your subject near a window or in the shade during midday to reduce harsh contrasts and create even lighting. Remember some of the other tips above in combination with this, and you could be onto a winning image.
Artificial light:
This can be customised to your needs and is consistent regardless of the time or weather. Sometimes household lamps or LED strips can be used creatively for lighting. For example, placing a lamp slightly above and to the side of your subject can mimic soft side lighting. Experiment with angles and distances to create the desired effect, and if the light feels too harsh, soften it with a translucent material like baking paper. Professional lighting is often daylight white-balanced (see below), or is able to be adjusted, and is usually bright enough to overpower any conflicting ambient lighting if needed.

Colour Temperature
Light isn’t just bright or dim; it also has a colour, measured in kelvin (lower numbers eg. 2700K are warmer, higher numbers eg. 6000K are cooler). The colour temperature of light affects the overall tone of your photos. On a professional camera, there are specific settings for this, but phones also have options available. In auto modes, your phone or camera will try and work out a good balance itself, but it doesn't always do it perfectly.
Try to match the lighting environment and ensure colours look natural. The optimal colour temperature usually sits somewhere in the middle of the spectrum, with a tendency towards slightly warm, but there are some good case scenarios for going either direction.
Warm light:
Found in sunsets or tungsten bulbs, this light has a yellowish-orange hue. Warm light is often associated with cosy, inviting moods, making it perfect for certain portraits or interior shots. Be cautious, though, as too much warmth can make colours appear unnatural.

Cool light:
Found in shaded areas or some LED lights, cool light has a bluish tint. This can evoke a sense of calm or sterility, which works well for some landscapes or modern, minimalistic shots. However, excessive cool tones can make images feel uninviting, and more often than not, isn't the preferred choice because of this.
Challenges in Poor Lighting
Sometimes you won’t have the luxury of perfect lighting, especially in everyday environments. Spotlights, tungsten bulbs, or dimly lit rooms can create problems such as:
Uneven exposure:
Bright areas are overexposed while shadows lose detail.
Solution:
Use a piece of white paper or card to reflect back the light into shadowed areas. If lighting is coming in from a window behind the subject for example, find yourself something large, flat and light, and play around with it on the opposite side of the subject, you will see light bounce back towards it, and this will help to balance the image, while retaining an artistic main lighting direction.
Colour casts:
Having numerous lighting sources and colour temperatures in a room can cause unwanted warm or cool shadows or highlights on your subject that can be tough to edit out.
Solution:
If possible, turn off any light sources that are not your primary light. If this is daylight from a window, turn off all interior lights, and bounce the light back in as mentioned above. If your main light source is something like a lamp, ensure that the colour temperature of the lamp is the same as any others in the room if possible. White balance consistency is key.
Harsh shadows:
Spotlights and midday sun can create unpleasant, hard shadows on your subject, such as panda-eyes on people, and multiple differing directions of shadow on products if there are numerous spotlights in a room.
Solution:
Diffuse the light by placing something partially translucent, like a thin piece of white fabric, between the light source and your subject. If you can angle the interior lights, try bouncing them off of a white wall, as this will help to create a softer effect light a window or a professional soft box would (but avoid bouncing off of coloured walls)
Takeaway: Learn to See Light
Start training your eye to notice how light interacts with the world around you. Observe how shadows fall, how colours shift, and how different times of day create different moods. The more you practice, the more you’ll realise that light is the real tool of photography—your camera just captures it.
Once you understand light, you’ll find it much easier to create the images you’ve always imagined. And when you do pick up your camera, you’ll have a new appreciation for what it can do.